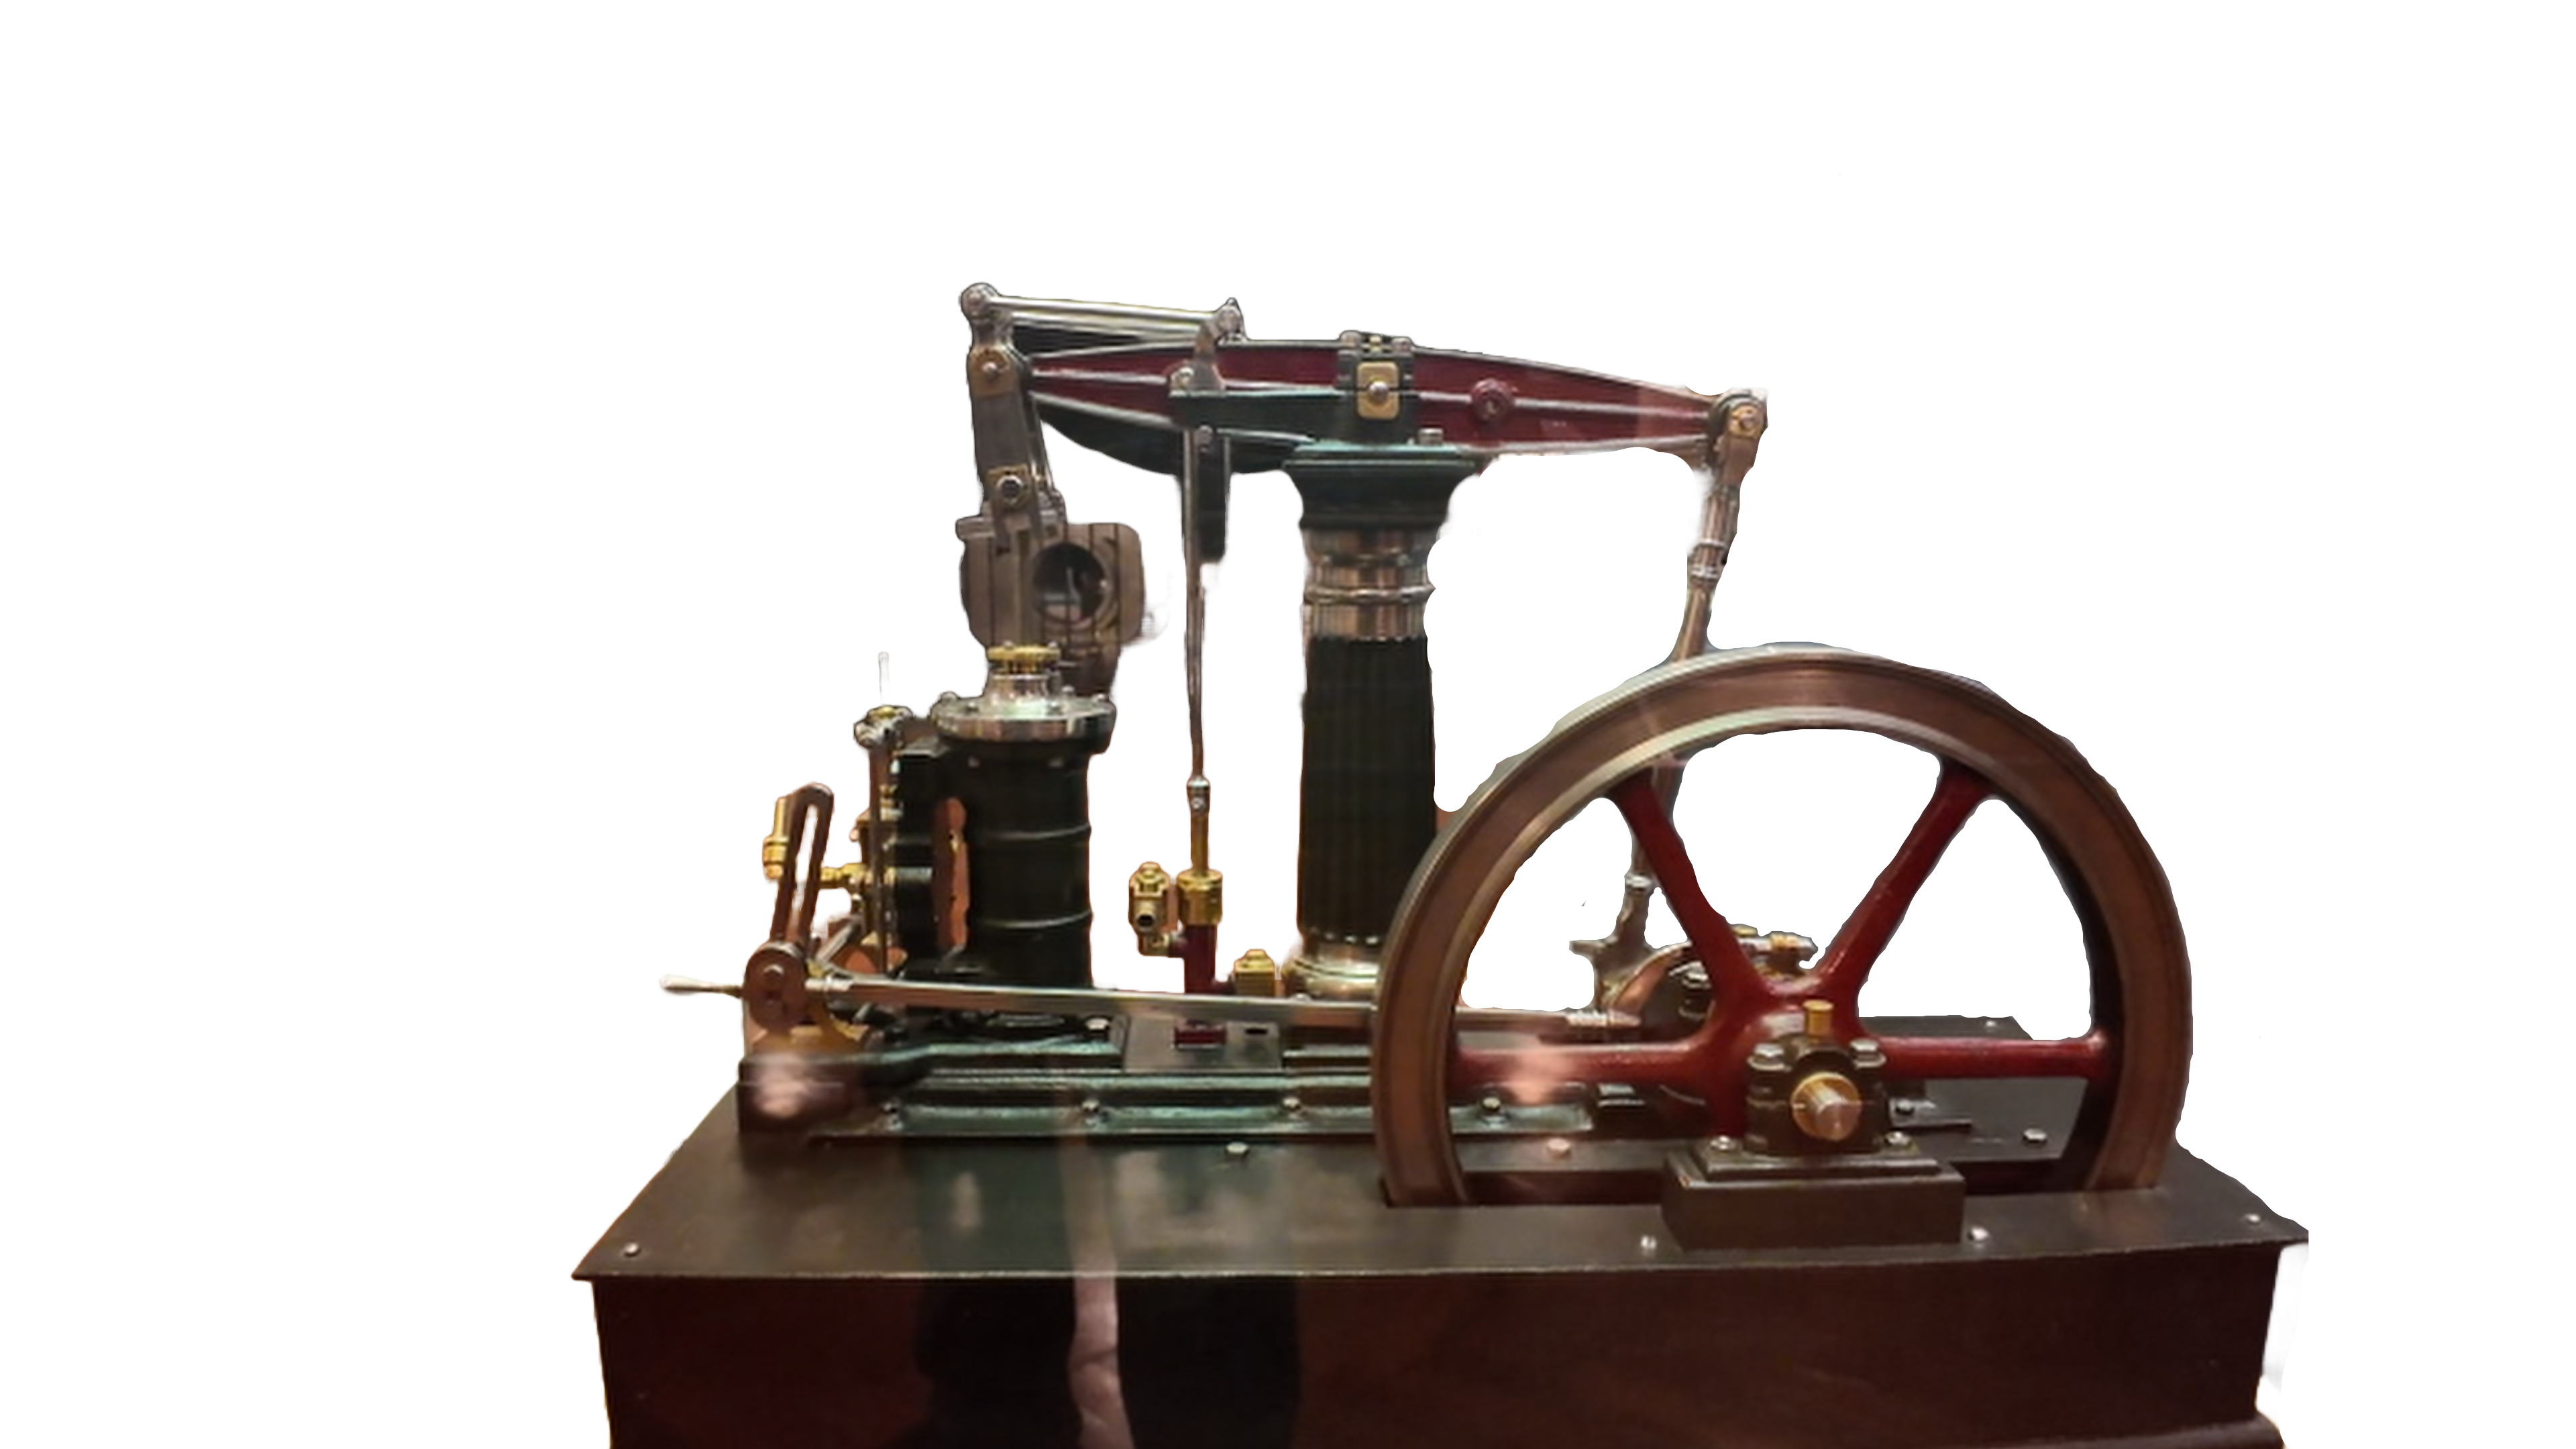
Exploration Guides

We're all explorers. You just need the right guide.

Water Purification in the Backcountry

Do I really have to purify my water?

Lots of people drink straight from springs and seem to do just fine, but the fact is, surface water quality is always unknown, often questionable, and it’s declining, especially in and near heavily used backcountry areas. Even away from those areas heavily traveled by humans, animals can and do spread disease and contaminate water sources.

In the end, while some backcountry water is perfectly safe to drink, and some people’s immune systems are strong enough to fight off a lot, you really do need to assume that all backcountry water is unsafe to drink. The good news is that you can make nearly any backcountry water source safe to drink. The bad news is, no method is perfect, but after reading this, you should know what to go look for, based on where you’re going, how long you’ll be out, and what budget you have to work with.

Before we proceed, I want to note that I am not a doctor, a biologist, or a chemist. What follows is based on personal research. It’s intended to let you quickly sort through dozens of options and get down to just a few that make sense to you. From there, I hope to at least provide you with the information you need to make an educated decision. Just know that there is no one, single, perfect choice.

What do you want to get rid of?

  1. Silt/particulates
  2. Cysts
  3. Bacteria
  4. Viruses
  5. Chemicals/heavy metals/radioactives
  6. Bad taste
  7. Salt and high mineral content

Silt and particulates are the biggest and easiest to get rid of. Even running the water through a t-shirt will get rid of a lot of it. Selecting your water source well can help a lot here, too. Flowing water, over rock, in small streams, upstream of trails, is often quite clear, especially closer to springs and higher up mountains. Streams running in gravel or dirt beds, especially after heavy rains, are usually silty. Most of the silt won’t actually hurt you, but it’ll taste bad, clog your filters, and prevent UV purification from working. No matter what method you’re using for water purification, it’s best to select the clearest, cleanest possible water source.

Cysts, like giardia and cryptosporidium, are huge, compared to bacteria and viruses. They love cool, clear, running water (you know, those tempting-looking mountain streams). Any mechanical, backcountry filter should easily get rid of them. While they’re easy to filter out mechanically, unfortunately, they’re also tough, so if you’re using chemicals, boiling, or UV, be sure to follow the instructions carefully or they might slip through.

Bacteria are fairly large, and most backcountry water filtration/purification methods can handle them. Be sure to follow the instructions.

Viruses, until a few years ago, weren’t really a problem in North American surface water. Several years ago, though I started to hear reports from around Shenandoah National Park of human pathogenic viruses in the water. These warnings were accompanied by advisories to use purification techniques to deal with them. It’s safe to assume they’ve since spread.

Every year along the Appalachian Trail, norovirus and hepatitis A both spread on the trail, largely via poor hygiene. Both can contaminate both surfaces and water sources. While neither may last in water for very long, especially in cold water, it’s something to at least consider. Viruses can be killed with chemicals, boiling and, if the water is clear enough, with UV purification. There are only two mechanical backcountry filters that I know of which will get rid of viruses, though – The First Need purifier and the MSR Guardian. Other mechanical filter systems, including the popular Sawyer systems, do not get rid of viruses.

Chemicals, heavy metals, and radioactives are tough to get rid of. UV and chemical methods will do absolutely nothing to get rid of them. In the mechanical filter realm, they can be eliminated via various means such as an activated carbon matrix. Some filters have this built it, but not many, as it adds to the cost, can add weight, and shortens the life of the filter. Your best bet here is careful source selection.

Bad taste is also tough to get rid of. If you’ve gotten rid of everything else, the bad taste is not likely to hurt you, but it may make your water taste so bad that you don’t want to drink it, leading to dehydration. If a water source smells of iron, sulfur, or something else, it’s probably going to taste bad, too. It may be worth trying to push on to the next one, if you’ve got enough water to get there. If you have to use that water source, adding flavorings (gatoraid, etc) can really help.

Salt and high mineral content Now for the bad news. All that other stuff you can get rid of. Short of a reverse osmosis filter or a still, though, you’re not going to find anything to desalinate water, or to remove excessive minerals. As of today, as far as I know, no one makes a hiker-friendly reverse osmosis filter unit. They’re just too big and heavy. As technology improves, though, it’s entirely possible someone will produce one in the future. High mineral content is usually safe (just handle the bad taste), but salt water is unusable. In an emergency, if salt water is all you have, you may be able to rig a solar still to produce enough to survive, bit it’s slow, and not even remotely portable.

Is it contaminated?

Short of a chemical and biological analysis, the best answer you can ever give is maybe. So how do you know?

If you have a piped water source which is flowing well, well maintained, with any cement or stone housing in good shape, with no cracks, then it’s probably OK. If it’s not flowing well, though, it’s less certain. Depending on state and local health department regulations, these water sources may be tested regularly, or not at all.

Any other water source really should be considered unsafe. Even if you know someone else drank from it, that doesn’t mean it’s safe. Some infections, from giardia, for example, can take a couple weeks or so before there are any symptoms. Also, your risk of infection from anything is a function of how much you’re exposed to (how many bacterium, for example), your personal immune system at the time, other things in your digestive system, and many other factors. Two people may drink the same amount of water from the same water source at the same time, and yet only one gets sick.

In the end, you really need to consider every, single water source — small springs and big rivers, small ponds and big lakes, to be potentially contaminated, then take appropriate steps to minimize your risk.

Water source:

Before you even start looking at how you want to make your water safe, start off by looking at where you want to get your water. The less that’s in your water to start with, the safer it’ll be in the end. There are no absolutes, but there are some guidelines.

  • Small, fast-moving, crystal clear water sources are likely to be the cleanest.
  • The clearer the water, the better.
  • Water coming out of a wetland is likely cleaner than water flowing in.
  • Upstream of a road or trail will be cleaner than downstream.
  • Away from civilization is usually safer than near it.
  • Higher on hills and mountains is usually better than lower.
  • The closer to the spring, the better.
  • Stagnant water is usually bad (but can still be used, if needed)
  • Big rivers that have gone through towns should be considered at high risk for chemical contamination.

Collecting Water

So you’ve picked your water source. The next thing you need to do is actually collect some water. Mechanical water purifiers with a pump usually allow you to just drop the intake hose into the water source and start pumping. In most other cases, you need to pull your water out of the water source to purify it. Even if you’re using a pump, unless the water looks clean and clear, it’s probably best to take some water out in another container first, at least to let the silt settle out some.

  • With crystal clear, flowing water, you can just collect water from the surface. Drop in your water intake hose or dip your “dirty” bottle or bucket in to fill it up. This is your best option.
  • If collecting from stationary water sources, try to collect your water from below the surface. Some contaminants float the the surface, and going even an inch or two below the surface gives you a better quality water.
  • If your water source is silty, you want to get rid of some of that silt in advance of any purification methods. If you’re collecting water on the go, you can cover the opening of your “dirty” bottle with a t-shirt and let that remove at least some of the silt.
  • With silty water, if you’re not moving for a while, scoop up water in a container, like a water bucket, and let it sit for a while. The silt will settle out, allowing you to work from much cleaner water in the top of the bucket. At first glance, carrying a water bucket seems like a really heavy indulgence, but newer materials allow for very lightweight water buckets. Mine holds 10 liters of water and weighs in at one ounce. If your water source is a ways away from camp, you can just scoop it full, carry it into camp, and everyone can work from it, making it well worth the negligible weight, even if you never actually need it for settling silty water.

Filtration/purification methods

So you’ve gathered your water, so now what do you do with it? There are quite a few options. Each has it’s advantages and disadvantages.

  1. Chemical purification
  2. Mechanical filtration
  3. UV purification
  4. Boiling
  5. Thoughts and prayers

Chemical Purification

Chemical purification is a fairly simple process which can get be effective against bacteria, viruses, and cysts. While the details vary from chemical to chemical, the procedure is generally to scoop up some amount of water, add the right amount of chemicals, then wait a while. For some chemicals, how long you need to wait will be a function of temperature, with colder temperatures taking longer. Follow instructions carefully and for silty water, you’ll probably want to settle it first and move from your scooping bucket to a second container to decontaminate. One risk with chemical decontamination is that, since you’re using a single container as both a “clean” and a “dirty” container, you need to be sure to watch out for potential cross-contamination.

Advantages: For short trips, this is a very cost-effective method. The process is fairly simple, and while I’m warning to be sure to carefully follow the instructions, those instructions are pretty simple, really only involving the amount of water, the amount of the chemical, and the time (maybe as a function of temperature).

Disadvantages: The big one is taste. Some don’t mind it, but some can’t drink the treated water at all. If you’re going to use this method, be sure to try the treated water at home before you’re out on the trail. There’s a few different chemicals out there, and even if you can’t stand the taste of one, you might still be OK with a different one. Also, over the long run, since you have to keep buying these chemicals over and over again, the costs will eventually add up. Even if you’re not using this method often, since the chemicals expire, you may wind up throwing away a lot. Finally, although the chemicals are generally considered safe for short periods of use, there are some questions about the health effects of long-term use for some of them.

Conclusion: I carry some in my pack, but have never used them. They’re in my emergency kit, in case my main water purifier fails. For me, they provide a cheap, backup purification method with nearly no weight. They can also be used in addition to an inexpensive filter to remove viruses, either before or after filtering. Some people choose to carry chemical purification tablets and use them only in the event the water source looks more questionable for viral contamination (warm water, heavily populated area, lack of good restroom facilities, etc). As a primary water purification method, these are OK for short trips, as long as you’re not put off by the taste, or don’t mind adding flavoring to all your drinking water, but use caution for longer trips.

Mechanical Filtration

Mechanical filtration is probably the quickest, easiest, and best understood method for making backcountry water safe to drink. Because of this, it’s also easily the most popular method for backpackers. These systems work by moving water through a filter of some kind. How you move the water, and the nature of the filter is where they differ.

All mechanical systems offer at least one of four methods of moving water through a filter cartridge, either with a pump (which is quick, but requires work), gravity feed (which is slow, but requires virtually no work), squeezing the “dirty” bottle (which is a cheap method but low volume and a lot of work), or sucking the water through the filter with a straw (even lower volume, more work, is unusable for cooking or adding flavorings, but is also quite inexpensive). Many filter systems offer more than one method with the same filter, letting you pump water quickly while on the trail, but then using a gravity feed to fill up everyone’s water bottles while in camp, for example.

Mechanical filters all have an advertised filter life. There’s generally no expiration date, but there is a maximum number of liters. This will range from dozens of liters to thousands. That number always assumes that you’re working from crystal clear water. Filtering dirty water will shorten the filter’s lifespan, potentially by a lot.

Some, not all mechanical filters can be backflushed, which lets you push clean water backwards through the filter cartridge to flush out contaminants. Be sure to use purified water to do this, and also be sure any hoses, pumps, bottles, bags, etc, used in the process are clean. If you push any contaminants into the output end of the filter cartridge, the cartridge is contaminated and you’re unlikely to be able to clean it again Be sure to read the instructions that come with your filter for instructions.

Another cleaning option for some, but again not all, mechanical filters is to dismantle the filter and clean the hard, ceramic core. Cleaning is usually accomplished by scrubbing the outside of the cartridge with an abrasive pad, then rinsing with clean, water, but read the instructions that come with your filter.

Beyond filter life, and much more important, is the absolute pore size. The absolute pore size controls what can get through the filter, with smaller pores being better. To remove bacteria, you want a maximum absolute pore size of 0.1 micron. For viruses, a maximum absolute pore size of 0.01 micron is required. For backcountry use, a filter with an absolute pore size above 0.1 micron is not really very useful.

Since an absolute pore size of 0.01 micron is difficult to produce, in order to remove viruses, some mechanical filters use other methods as well. Hollow fiber membranes are used by the MSR Guardian. The First Need purifier uses an activated carbon structured matrix. You may also find a purifier with an iodine resin in the cartridge, although note that this resin may lose effectiveness long before your filter cartridge stops working, so you have to keep track of usage. The iodine resin in the cartridge is essentially the same as adding iodine to the water after filtering in order to kill the viruses.

One additional note – don’t confuse backcountry water filters with kitchen water filters. Kitchen water filters are designed to improve the taste and maybe remove the chlorine from water which is already known to be safe to drink. Backcountry filters are designed to take water which is not safe to drink and convert it into water which is safe to drink. You can, generally, use your backcountry filter at home in the event they issue a boil water advisory.

Advantages: Generally speaking, it’s hard to get it wrong with a mechanical water filter. They’re generally pretty cheap and easy to use. You do need to be careful about cross-contamination, but even that is usually fairly simple, as you’ve always got an obvious, and distinct, dirty source and a separate clean destination for your water. With a pre-filter (usually pretty cheap, sometimes included), you can usually get a good, long life from a filter, although you may go through a few of them on a long thru-hike.

Disadvantages: The most serious disadvantage to mechanical filters is that most of them do not protect you from viruses. These filters also all have a finite life, ranging from a few dozen liters up to thousands. Mechanical filters are all subject to clogging up, depending mostly on input water quality. A pre-filter helps a lot, as does settling water before filtering, if the water is especially silty. No matter how careful you are, though, or how good your prefilter, the filter will eventually clog. Some can be backflushed or cleaned, some can’t. Also, like anything mechanical, they can break down. O-rings fail. Hoses leak. Cartridges are fragile and can break when dropped. Also, with few exceptions, if they freeze, if there’s even a tiny amount of water in them, you have to assume the cartridge is damaged and throw it away. Cracks from dropping or freezing are usually hidden, so there may be no way to tell if your filter cartridge is compromised, unless you have a manufacturer-approved test available for the specific filter, and few people carry these on the trail.

Conclusion: most backcountry users use a mechanical purifier for very good reasons. They’re fairly light, ranging in weight from a couple ounces up to around a pound. If you suspect the water source may have viral contamination, you can combine a less expensive mechanical filtration with another method to kill viruses (chemical or UV). If you don’t mind a little bigger, little more expensive filter, you can get one that works on nearly everything, including viruses. Personally, I’ve carried a First Need purifier for years, and picked up an MSR Guardian for my upcoming Appalachian Trail thru-hike. Neither is the lightest system on the market, but I drink a lot of water and like not really having to worry about my water sources.

UV Purification

The new kid of the block for backcountry water purification is UV purification. Using ultraviolet light, these purifiers are placed directly into a bottle filled with “dirty” water and turned on for some period of time. The procedure is simple – just scoop up some, specified maximum amount of water (say one liter), put the purifier in the water, and turn it on. Most will even turn off when the cycle is done.

Advantages: It’s quick and easy, and the cost of UV purifiers has come way down, making them cost-effective, too. There’s no added taste, no added chemicals, and no cartridges to replace.

Disadvantages: They require batteries or charging. They sometimes don’t work if it gets too cold. Some can break surprisingly easily. They also don’t work well, or at all, unless the water is fairly clear. This method also leaves your water open to cross-contamination, since your “clean” water is produced in your “dirty” water bottle.

Conclusion: Probably not the best option for backcountry use, at least not alone. Like chemical purification, though, it’s a good option to use following mechanical filtration to eliminate viruses without leaving the bad taste of chemical purification.

Boiling

From the newest technology to the oldest one. Boiling water is quite effective at removing all living contaminants. While it does nothing for sediment or chemical contamination, it does kill bacteria, viruses, and cysts. The procedure is simple. At fairly low elevations, below a few thousand feet, a two minute rolling boil will kill everything. Due to the lower boiling point at higher elevations, extend that time to three to five minutes at higher elevations. If you’re cooking, you can just use the water directly, as the cooking time is usually enough to purify the water. If you’re planing to drink the water, let it cool, then pour the water back and forth between a couple containers several times to get some air back into the water and reduce the flat taste.

Advantages: It’s easy and, if you’re backpacking anyway, you already have everything you need. It also lets you get drinking water from snow and ice.

Disadvantages: It takes a long time, especially if you want to purify some water along the trail mid-hike. By the time you set up your stove, boil the water, then let it cool down enough to put into your water bottle and drink, you may have spent 30-60 minutes on what would take you 2-3 minutes with a mechanical purifier. Finally, it uses a lot of fuel – a LOT of fuel.

Conclusion: It works and works well, but isn’t really a great solution for most people, with far better options available. It does still have a place in the backcountry, though, both as a backup system, and as a way to purify water for cooking, since you’re going to boil cooking water, anyway.

Thoughts and prayers

Any time the topic of backcountry water purification comes up, there’s immediately a group of people who will tell you that you don’t need it. They’ll tell you stories of their previous hikes with no water purification and how they didn’t get sick. They’ll give you links to stories from other people who have done the same. So what’s the story here? Are they lying? Do they have super-human immune systems? Did they just get really lucky?

First, the stories, at least some of them, are true. People can and do backpack today with no water purification with absolutely no ill effects. These people don’t necessarily have super-human immune systems, but in some cases their bodies are already adapted to the common backcountry contaminants. Some things, like e. coli, are actually fairly common in humans. If you’re one of them, consuming more will not harm you at all, but if you’re not one of them, consuming it will make you sick. The last I heard, and again, I’m not a doctor here, but it has a lot to do with what you’re exposed to before and just after birth. This is why it’s usually safe to consume tap water where you’ve grown up, but may not be safe for people from other countries to drink that same water.

Conclusions: No advantages or disadvantages to this one. If you’ve never been sick from drinking untreated water before, that doesn’t mean you won’t get sick from it the next time. On the other hand, if you’re dehydrated, have no means to treat your water, and have a week-long hike to get back to civilization, you’re better off drinking untreated water than none at all. You can live long enough to get back to civilization, then treat for anything you may have picked up once you’re back. You’ll usually have at least hours, sometimes weeks, before any symptoms become problematic, but with serious dehydration, you may be unable to get back to civilization at all.

Cross-contamination

Once you’ve made your water safe to drink, don’t contaminate it! Unfortunately, many people do this without realizing it. In the case of UV sterilization, for example, you scoop up a half bottle of water sterilize the water in the bottle, then pour the water back out into your drinking bottle, but in doing so, you pour the purified water over the upper half of the bottle, which wasn’t sterilized, potentially recontaminating the water. Dropping your mechanical filter into the water source will contaminate the outlet. Backflushing a filter with dirty water does the same. Dipping anything into the clean water makes it dirty again.

Ultimately, you’re looking at threshold levels here, so introducing a single bacterium into a gallon of purified water is not likely to make you sick, but with more serious cross-contaminations, and when repeated over time, the risks do add up.

A lot has been written about cross-contamination, and people make their careers based on studying and minimizing it. It doesn’t have to be that complex, though. Just follow these two, simple rules:

  1. You can move anything at all from “clean” to “dirty,” but as soon as you do, that thing now becomes “dirty.”
  2. You can move anything from “dirty” to “clean”, but then everything “clean”, whether it was your drinking water bottle or your cook pot, is now “dirty” and needs to be cleaned before you can trust it again.

For more information on how to avoid cross-contamination, look to any industry that has to pay attention to it – medicine, culinary arts, and tattooing/piercing, for example.

How do I decide?

The good news here is that there aren’t really a lot of terrible choices. If you’re doing a lot of hiking, you’ll almost certainly want a mechanical filter with a maximum absolute pore size of 0.1 microns. Depending on where and when you’re hiking, you may need to consider viral purification, as well, either going with a better mechanical purifier to remove the viruses, or using a secondary method such as chemical or UV purification to kill the viruses after filtering. If you’re looking for something just for emergency use, a chemical method is probably your best option.

I’ve only named three mechanicals filters by name, and no chemical or UV systems. There’s a reason for this. Every year, manufacturers release new water purification systems and discontinue older ones. Armed with the information here, you can confidently walk into any outfitter and tell them what you want. If you say you want a mechanical water filter with a maximum pore size of 0.1 micron, a pump, but able to use gravity feed, which can be backflushed, and is suitable for weekend backpacking trips for two or three people, for example, you’ve narrowed things down to just a few options, all of them likely quite good for your needs.

February 21, 2020 Posted by | gear, hiking | , , , , , , | Leave a Comment

Rediscovering Edsel Ford’s Haven Hill is Now Streaming on Amazon!

Our first feature-length film, “Rediscovering Edsel Ford’s Haven Hill,” is now available to stream live on Amazon.com.  It’s currently free for Amazon Prime members, or $2.99 to rent or $9.99 to buy.

Stream on Amazon now

key-art-1200x1600-rebuild

December 9, 2016 Posted by | video | , , | Leave a Comment

The Miami & Erie Canal

Exploration Guides visited the Miami & Erie Canal a week or so ago to try out the new camera.  Originally over 300 miles long, there’s only a few pieces left, including a handful of locks in Sidecut Metropark, just south of Toledo.


Be sure to visit our facebook page at http://facebook.com/ExplorationGuides to see not only updates from Exploration Guides, but lots more information about nature and exploration from around the world.

May 2, 2016 Posted by | video | , , | Leave a Comment

A Bit of Snow

Friday night, there was no snow on the ground in southeast Michigan. Things changed a bit on Saturday. Up to 14″, depending on where you live.  The blue sky makes it look too inviting to not go out exploring.  Just remember to dress warm.

Kensington Trail After Snow

November 22, 2015 Posted by | Trail reports | Leave a Comment

The Advantages of Exploring in the Fall

Anyone who knows me knows that I’m not a huge fan of fall or winter, in general, but there is, however, one, distinct advantage to this time of year. From the time in early fall, when the undergrowth has largely died down, until there’s heavy snow, then again from the time the snow melts until the undergrowth takes over, it’s the best time to look for new ruins in forested areas.

In the winter, everything buried under snow. In mid-summer, it can sometimes seem it’s buried just as deep in mosquitoes, and it’s just as hidden with undergrowth. You can still go explore your world, of course, and you should, but time time of year, it can be a little easier to spot new things.  This weekend, while hiking in Ortonville State Recreation Area, some friends and I found this.

stone wall at ortonville

It’s a little hard to see, unless you zoom in, but once you do, you’ll see the remains of a stone basement wall.  We found two basements I hadn’t seen before, and part of a car body, too, all in places I’ve repeatedly walked by in spring and summer without even noticing them.


And don’t forget, your first chance to see Rediscovering Edsel Ford’s Haven Hill will be on Wednesday at 6pm at Hartland’s Cromaine Library, in downtown Heartland.  Following the film, I’ll be answering questions on Haven Hill, archaeology, and filmmaking.

October 18, 2015 Posted by | hiking, Trail reports, video | Leave a Comment

Nature RX – The Cure For Modern Life

Warning: “Side effects may include confidence, authenticity, remembering you have a body, and being in a good mood for no apparent reason.”

I just saw this and realized that everyone needs to see it. Then turn off the computer and go outside.

October 16, 2015 Posted by | hiking, video | Leave a Comment